Stall Feeder Specs & Installation
Stall Feeder includes:
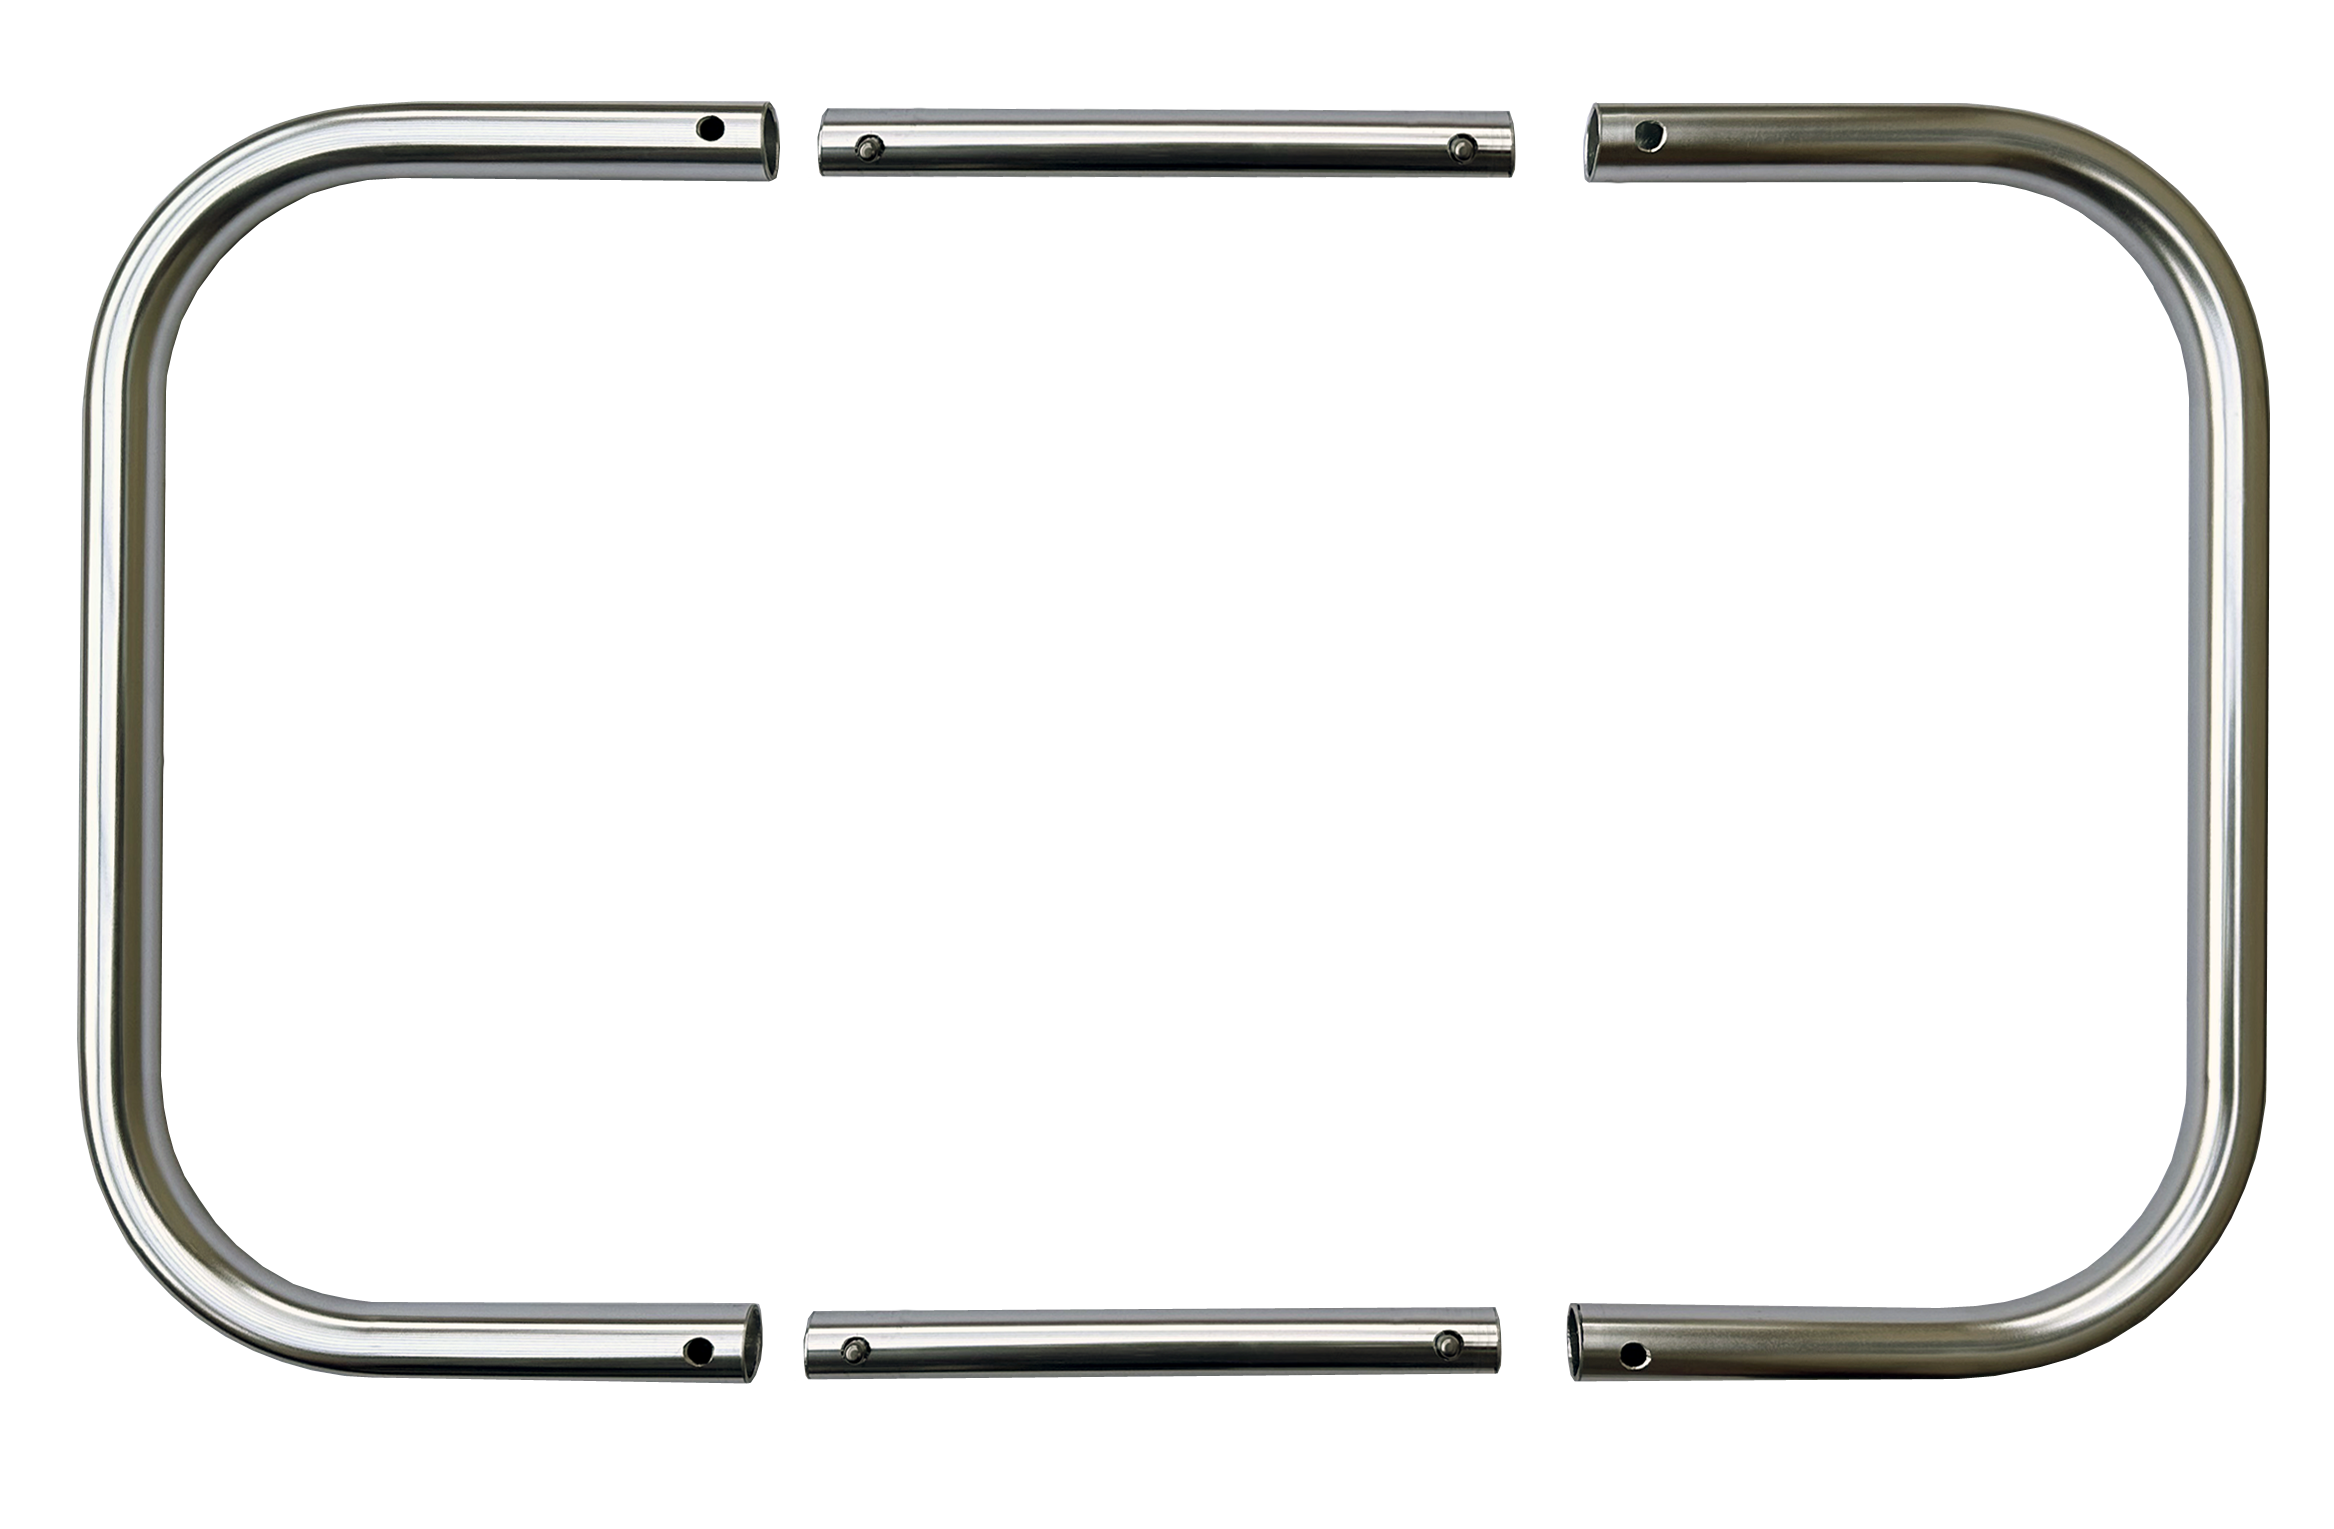
4-piece Stall Feeder frame
1 Easy Latch OR Not-So-Easy Latch
4 Tube clamps
6 screws
Dimensions: 24”wx13”h
Hay Chute: 22”wx13”h
(not shown to scale)
Print the PDF edition of the
Stall Feeder Installation Guide

B. Depress snap button on the other side of the short tube and insert into the second C-frame tube. Now is a good time to install a hay net onto the frame if the feeder did not come with one. See instructions below.
C. Attach the second short tube section to the opposite side of C-shaped frames by depressing the snap button on each side and inserting into the corresponding tube.
Asembling Stall Feeder Frame
A. Lay out the four aluminum components as shown. Depress one snap button on the short tube (see image on left) and insert it into the adjacent C-shaped tube until the snap button clicks into the hole.

WE RECOMMEND INSTALLING THE HAY NET ONTO THE STALL FEEDER FRAME PRIOR TO MOUNTING THE FRAME ONTO A FENCE OR WALL.
B. Find the top loop of the hay net. Load one loop onto Stall Feeder, then weave the remaining top row loops around the feeder. Slide the net around Stall Feeder as you load it. Make sure that the carabiner that holds the net together rests INSIDE the net. Horses should not be able to chew on the carabiner.
C. When net is fully attached to Stall Feeder, re-assemble Stall Feeder by inserting the short tube sections into the C-shaped sections. Ensure that the snap buttons click into place. Distribute the hay net evenly around Stall Feeder. Install Stall Feeder onto fence using instructions on next page.
Installing a hay net onto Stall Feeder
A. Depress the snap buttons on the top or bottom section of the feeder (see image on left). Only one side of the unit needs to be opened, but it’s also okay to completely dismantle the feeder.

Mounting Stall Feeder
A. To determine a suitable mounting location, hold Stall Feeder in the prospective location and check to ensure that the bottom of the empty hay net rests minimum 6” above the ground. Adjust the position of Stall Feeder to meet this minimum safety requirement.
(Stall Feeder can be mounted on the outside or inside of a fence. We recommend mounting on the outside (the human side). The hay net will always sit on the horse-side of the fence.)
Stall Feeder is a very versatile, simple hay net holder and offers the user several installation options.
1) WALL MOUNT
B. Place 4 tube clamps over the bottom rails of Stall Feeder approximately 2” from each corner. Mount one clamp facing up, and one clamp facing down on each side. Install a screw into each tube clamp.
C. Push the hay net through to rest on the horse-side of the fence. Stall Feeder is ready to load with hay.

Stall Feeder Photo Gallery


