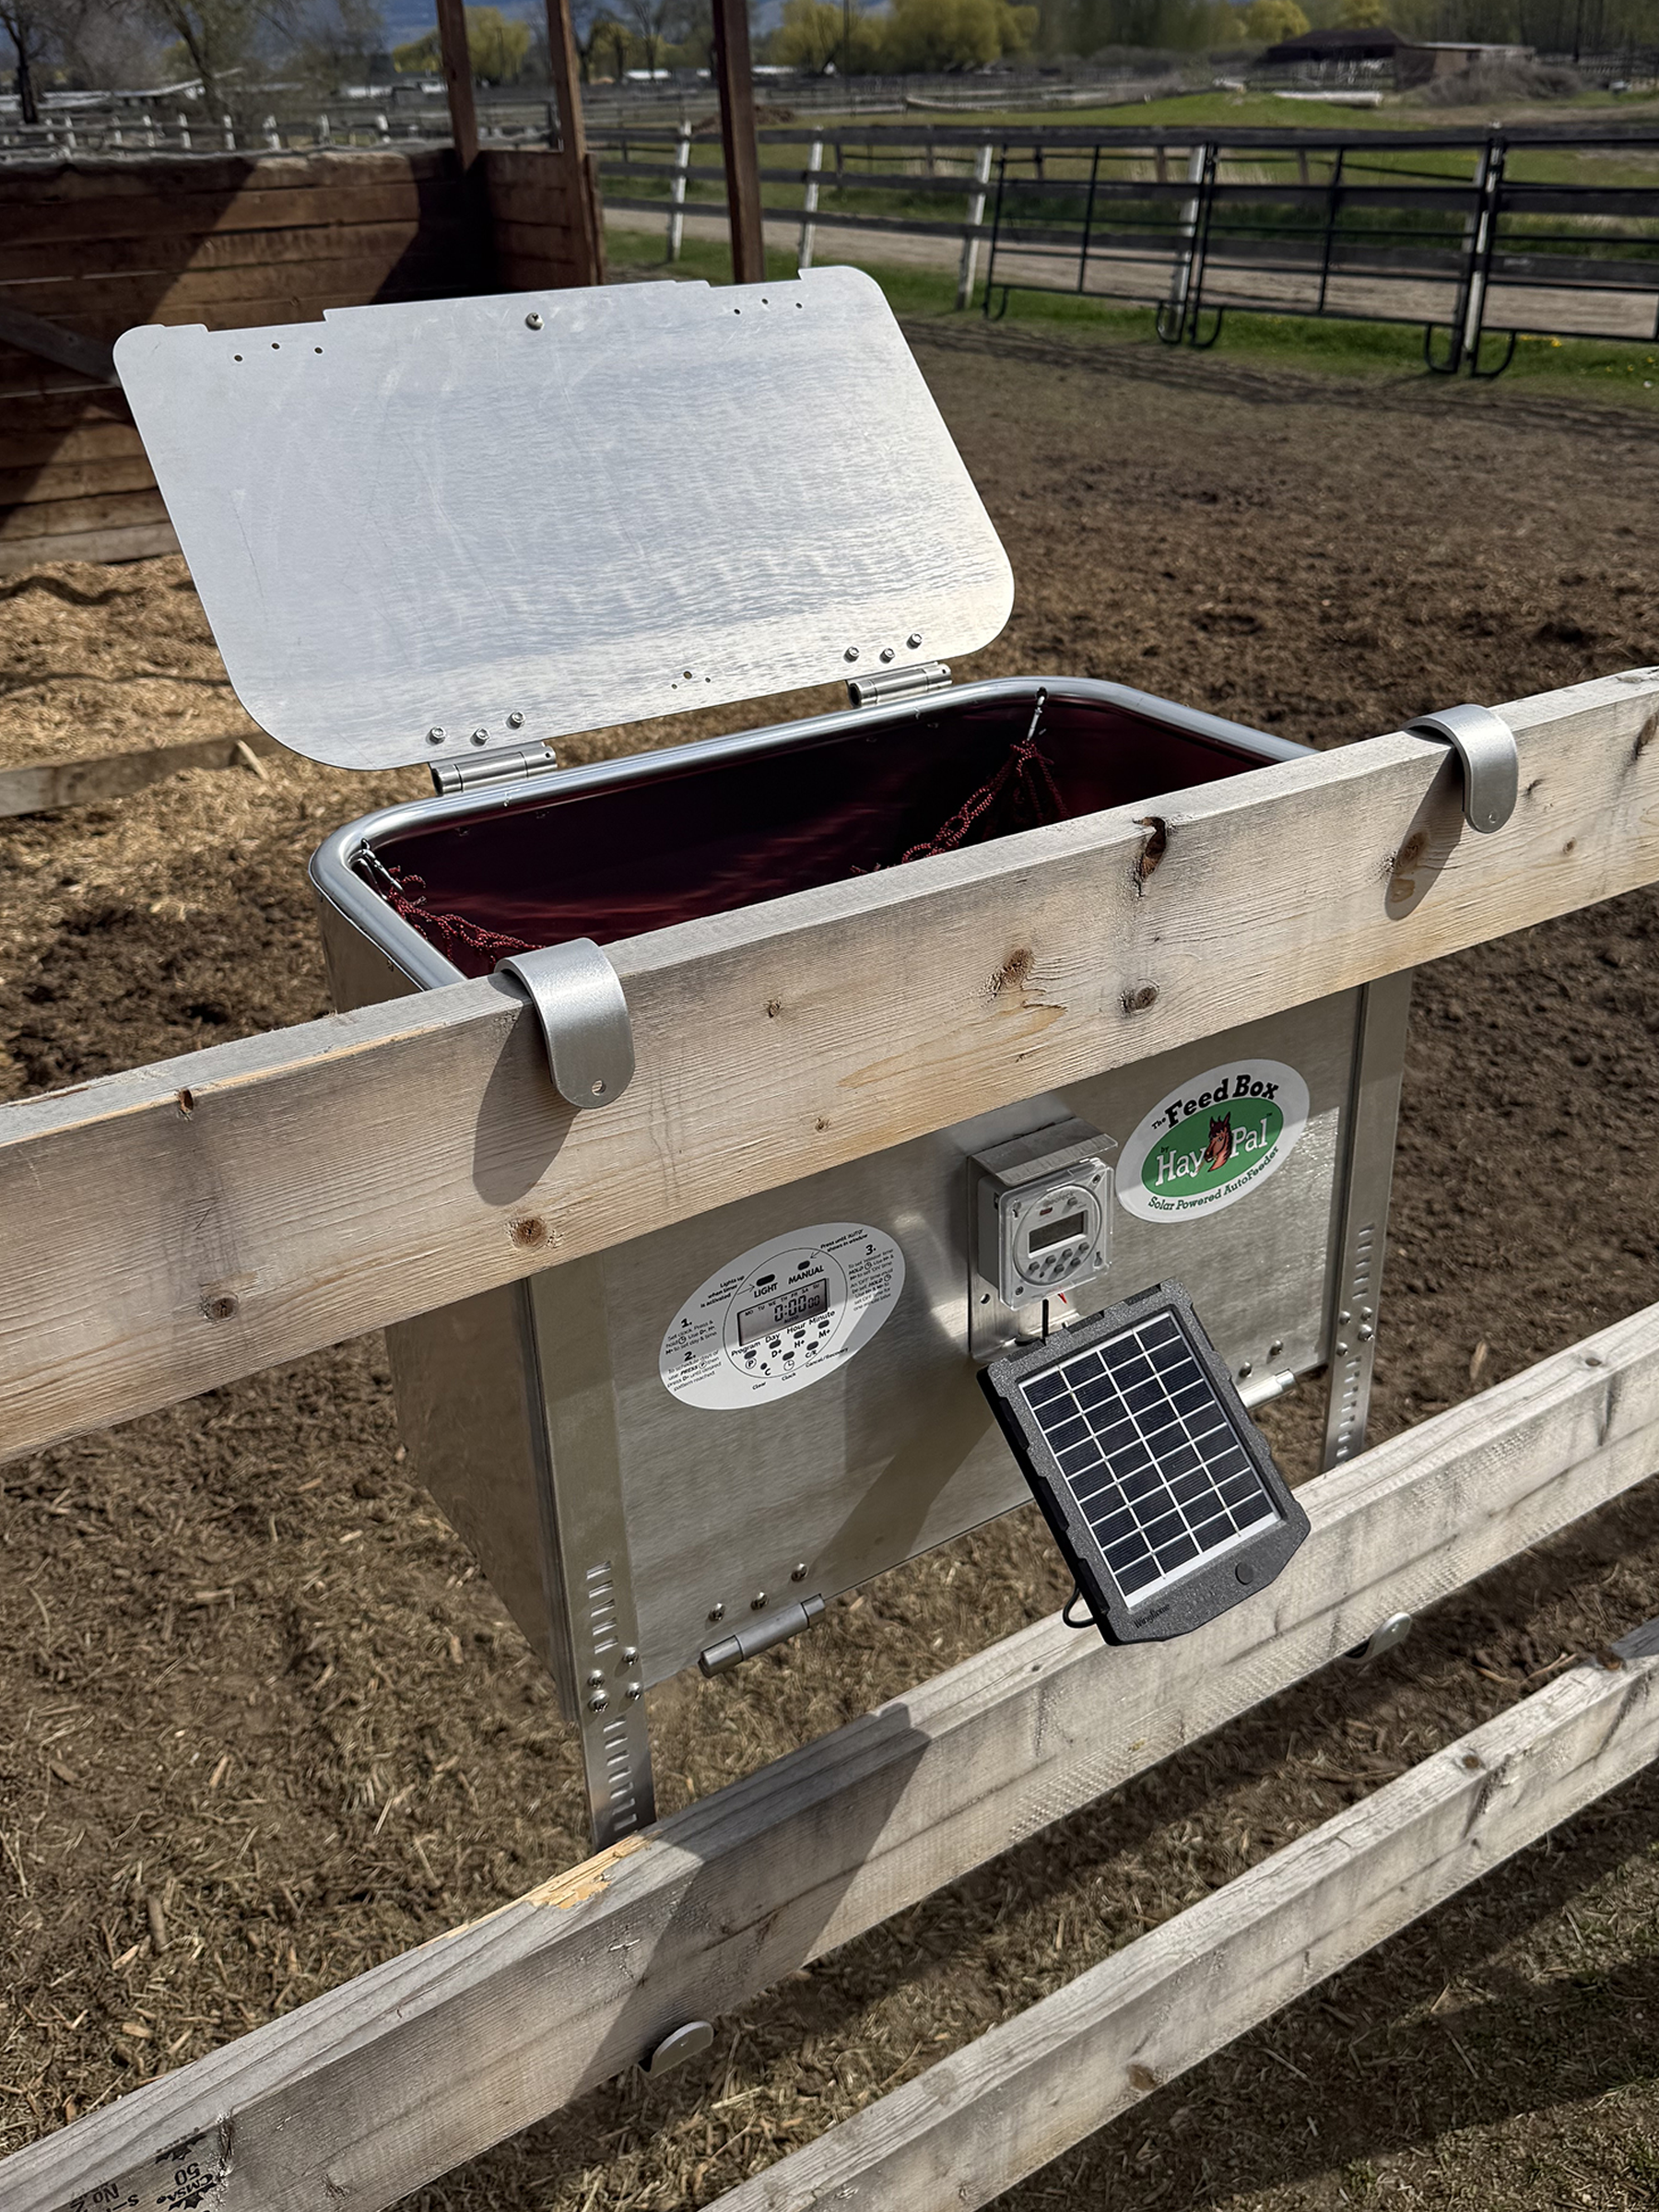
The HayBox Solar-Powered Automatic Feeder
Specs & Installation
The HayBox includes:
HayBox feeder, including
solar panel/timer system
& adjustable side rails
Dimensions: box: 22.5x13.5x16"
rails are 24”


Choosing the right spot for your HayBox Auto Feeder
For the HayBox feeder’s solar powered feature to work well, the solar panel of the feeder must be situated in a spot that receives direct sunlight during the day. This is typically a south-facing spot on your fence.
If you are unable to find a spot with enough sunshine, the timer unit on the feeder can be plugged into an electrical outlet using the wall adapter provided.
If the unit will not charge via the solar panel, plug it into an electrical outlet until it has fully re-charged.
Mounting the HayBox
The HayBox is intended for use on a variety of exterior fence rails (dimensional lumber, panels, chain link). Use caution when fitting the unit to any style of fence to ensure that the solar panel is not damaged during installation.
If using a hay net, check to ensure the hay net sits minimum 6” off the ground when the net is empty. Net length is easily adjustable by re-installing the net to desired length.
Choosing the best installation hook
HayPal ships two styles of installation hooks to help secure the lower rails of the HayBox to a wide variety of fence types.
Both hooks work well, but where possible, the u-shaped hook will provide added security. The flat hook is designed primarily for fences that don’t fit the u-shaped hook.
If you find that neither hooks fit properly, adjust the position of your fence rails to accommodate the hooks (for example, move the lower fence rail up or down until the hook fits into the lower rail.
Loading the HayBox
To fill the HayBox, open up the top door of the feeder and drop in your feed. The feeder is designed for flake or loose hay and may also work well with hay cubes or other types of forage.
Re-Setting the HayBox After Use
The timer will automatically release the trap door according to the schedule that you set (see next page for detailed instructions).
To re-set the trap door for its next use, simply tuck the net into the interior of the box and close the trap door until the latch clicks into place.
Replacing the Hay Net
Additional hay nets are available for purchase at HayPal.ca. Most types of hay nets will fit into the HayBox. Simply take off the old net and set a new hay net into place.
Best practice: Use hay nets with 1.5” holes and make sure that the hay net is 6” off the ground when it is empty. Hay nets aren’t recommended for shod horses.
Programming the HayBox Timer
The HayBox comes pre-programmed to open every evening at 10pm. Follow these steps to change the timing of your Auto Feeder.

Instructions
Step 1: Set the clock to the current local time (this example shows 2:08:58pm)
Press C (clear) to re-set the system
Press and hold clock button while using D+, H+, M+ to set current time.
Step 2: Use the Program button to set the release day of the feeder. This image shows that the feeder is only working on ‘Tuesdays’. Follow these instructions:
Press P
Press H+/M+ to set release time
Press D+ until desired setting is reached. (‘Every day’ is the last option)
Press P (the display will say ‘1off’). This is to set the OFF time.
Press H+/M+ to set the ‘off’ time. (We suggest 1 min after the ON time)
Press Clock to end the set-up.
Press C to turn on (to activate) the unit.
Step 3: Push the MANUAL button until the unit says ‘AUTO’ at the bottom of the window. The timer is now set. If this space shows ‘on’ or ‘off’, press the Manual button until ‘AUTO’ appears. If Auto is not set, the timer will not work.
Caution: leaving the timer in the ’on’ position will drain the battery rapidly.